How to configure Homepage Banner Slider extension
The step-by-step information below guides you on configuring this extension and managing the banner details effortlessly.
Store Configurations
Log into your Magento 2 backend and navigate to the below General Settings page -
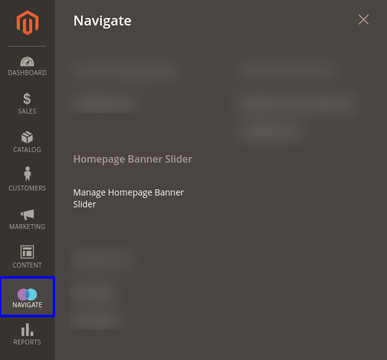
Store -> Configurations -> Navigate Extension -> Homepage Banner Slider
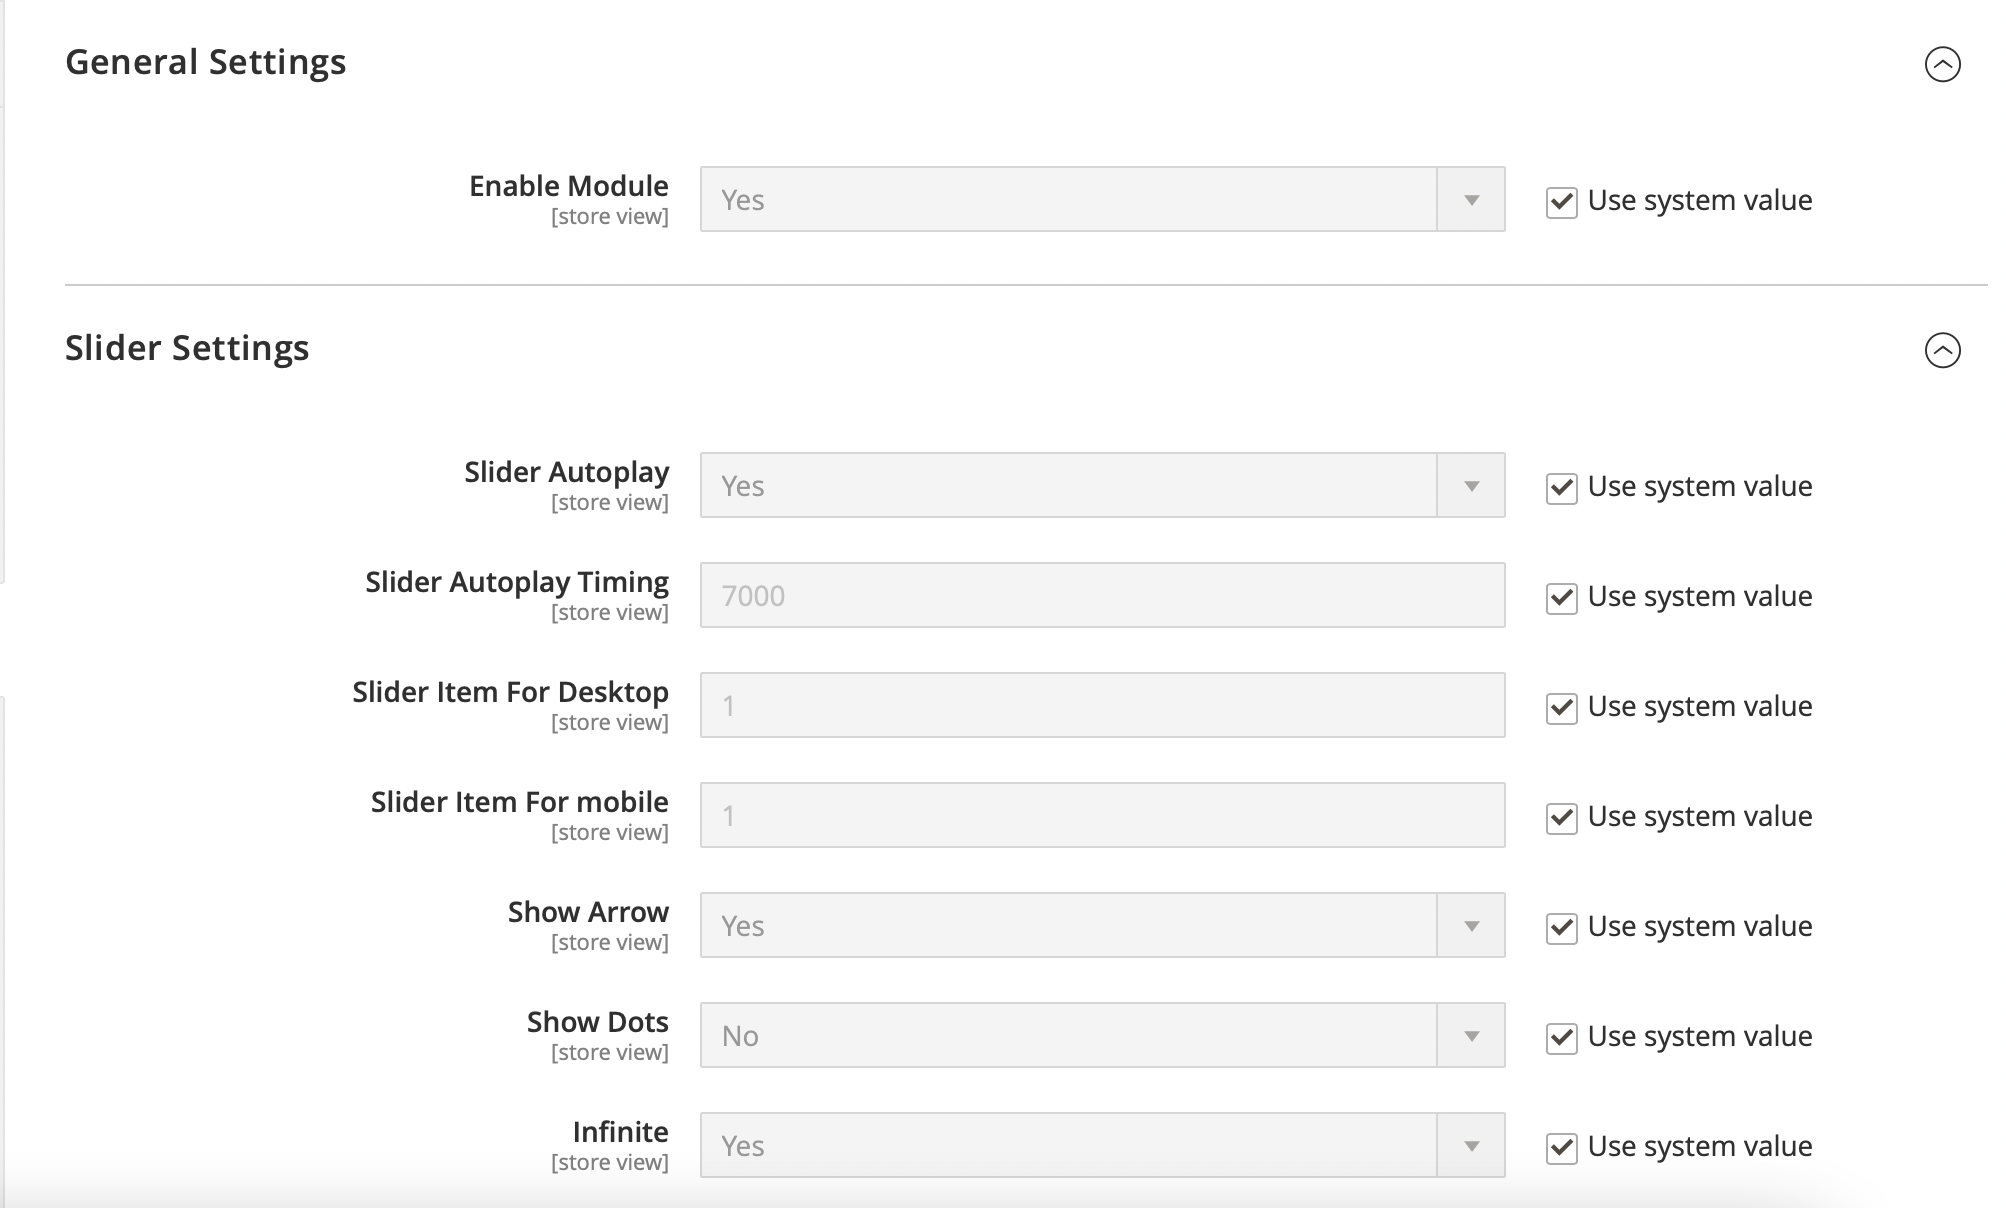
General Settings
- Enabled: Select Yes/No from the dropdown to enable/disable this module.
- Yes: Select this option to enable the module.
- No: Select this option to disable the module.
The default value is Yes.
Slider Settings
- Slider Autoplay: Select Yes if you want to slide the banner automatically.
The default value is Yes.
- Slider Autoplay Timing: Set the banner slider timing.
The default value is 7000.
- Slider Item For Desktop: Set the number to rotate the number of banners at a time. This setting will equally split the banner width based on the number you enter. For example, setting the slider item number to 2 will show two banners in that banner width and rotate both simultaneously. See the screenshot below.
The default value is 1.

- Slider Item For mobile: Set the number to rotate the number of banners at a time on the mobile device.
The default value is 1.
- Show Arrow: Show arrows over the banners to help the customers rotate the banners manually.
The default value is Yes.
- Show Dots: Allow the customer to rotate the banner using dots.
The default value is No.
- Infinite: Choose Yes to rotate the banner in the loop.
The default value is Yes.
Manage Homepage Banner Slider
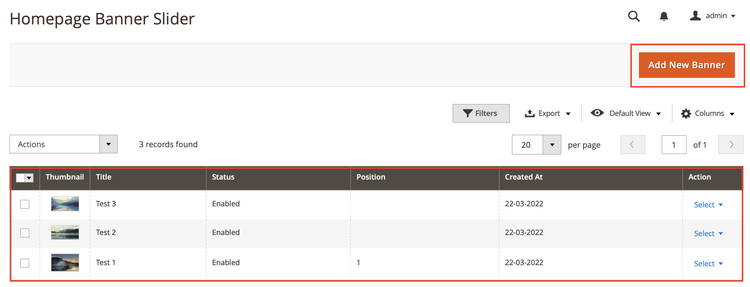
To add or edit banner(s), go to Navigate → Manage Homepage Banner Slider and manage the banners as per your requirement.
Following this path will take the admin to the banner management page, where the admin will see a grid showing a few sample sliders already created by us as a reference. The admin can click on the Select link shown in the Action column and then click on either the Edit link to go to that specific banner edit page or Remove to delete that banner.
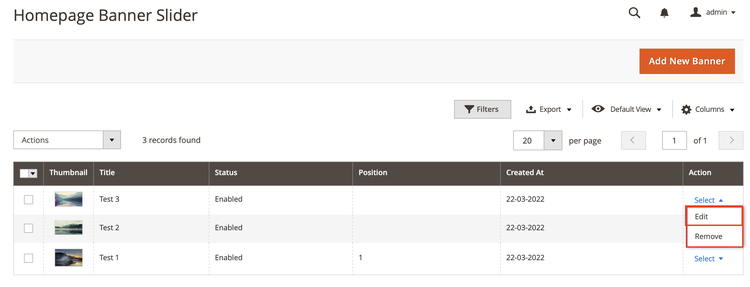
The Add New Banner button displayed right above the banner grid will navigate the admin to the banner edit page.
The admin will see the list of different fields provisioned to add banner data on that edit page. Please find the purpose of these each field below -
- Status: Choose either option from the dropdown
- Enabled: To show this banner on the homepage.
- Disabled: To hide this banner on the homepage. Position: Set the position of this banner.
The default value is Yes.
- Title: Name the title of this new banner.
The default value is Yes.
- Slider Title: Mention the slider title in this field to show it on the banner image.
The default value is Yes.
-
Enable Button: Select Enable to display the button on the banner. Selecting Enable will open a few more settings below this option. These settings are as follows:
- Button Title: State the button title displayed on the banner image.
- Button Position: Select the button position from the below option.
- Center: Show the button in the center of the banner.
- Top Right: Display the button in the top right corner.
- Top Left: Display the button in the top left corner.
- Botton Right: Showcase the button in the bottom right corner.
- Botton Left: Showcase the button in the bottom left corner.
The default value is Center.
- Button URL key: Add the button URL, which will navigate the user to that specific page.
- Open Link In New Tab: Select Yes to open the above button URL in a separate tab.
The default value is Yes.
-
Desktop Image: Upload a desktop image or delete the existing one.
The default value is Yes.
- Mobile Image: Upload a mobile image or delete the existing one.
The default value is Yes.
- Position: Set the position of this banner.
The default value is Yes.

Once you are done with either adding new data or editing the existing, don’t forget to hit the Save button and perform the cache management.